
With summer comes the sweet scent of mowed lawns, cozy backyard campfires with s'mores, and sunny weekends with family, so you know it's almost time to celebrate Independence Day in the United States. To get ready for those Fourth of July events which are coming in the heart of the busy season, here's a simple red, white, and blue star mask using BAM stencils and gems for a sparkling, patriotic design. (Or for those who would like a more masculine rendition, forego the gems and substitute a few fireworks or an eagle in the middle of the forehead.)
Materials
• White (Paradise)
• Pearl white (TAG)
• Red (Paradise)
• Royal blue (Paradise)
• White (Diamond FX)
• Sponge (and/or dauber)
• #5 round brush
• BAM star stencil (BAM1039)
• BAM dot stencil (BAM2031)
• White, blue, and magenta or red cosmetic grade glitter
• Red, white, and blue gems
• Skin-safe adhesive
Tutorial
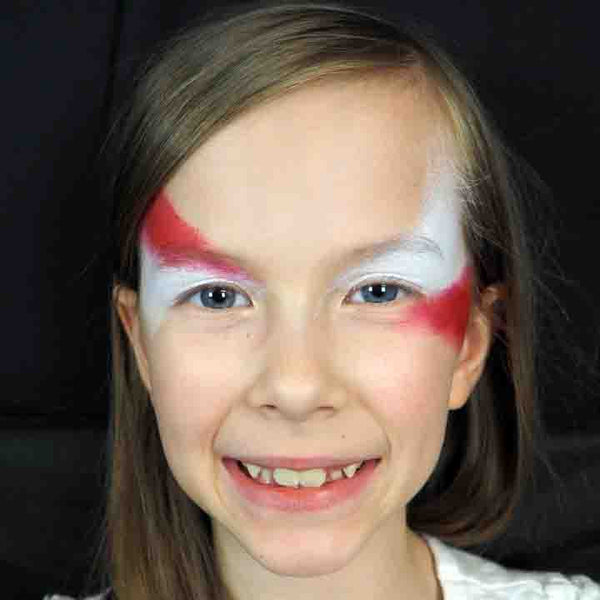
Begin by sponging white from the inner corner of each eye and sweeping up and away from the eye. On one side, make the sweep wider and higher than the other side.

Over one eye, sponge red over the white side. For the opposite eye, sponge red below the white. If you have a red, white, and blue split cake, you can do these steps simultaneously, but I like to start with white and add the other colors separately to keep them from blending into pinks and light blues too much. Which way you decide to do it will have a lot to do with the amount of time you have available. For balance, you want one side of the mask to be smaller and the other side to be wider and more dominant.
Sponge royal blue on the opposite side of the white for each eye. Add red and blue glitter to those areas if desired.

Load your sponge or dauber with white from the Diamond FX white (which is very opaque) and sponge white stars overlapping the blue and red on either side of the white so that it looks like the stars are emerging from the white. Add white glitter if desired.

Place red, white, and blue gems on the forehead in the center. If they don't have an adhesive already, use a skin-safe adhesive to hold them in place. Use the dot stencil and red to finish the edges of the red area, and repeat with blue for the blue parts of the mask.

Using your #5 round brush, add teardrops and white dots to complete the center of the mask.

Beth MacKinney is the owner of and primary face painter for Face Paint Pizzazz in Elgin, Illinois, and her artwork has appeared in The Colored Palette and SkinMarkz magazines. She services Elgin, Illinois, the NW Chicago suburbs, and northern Chicago, as well as the eastern suburbs of Rockford. Stop by Facepaint.com to check out her other face painting blog posts and tutorials.